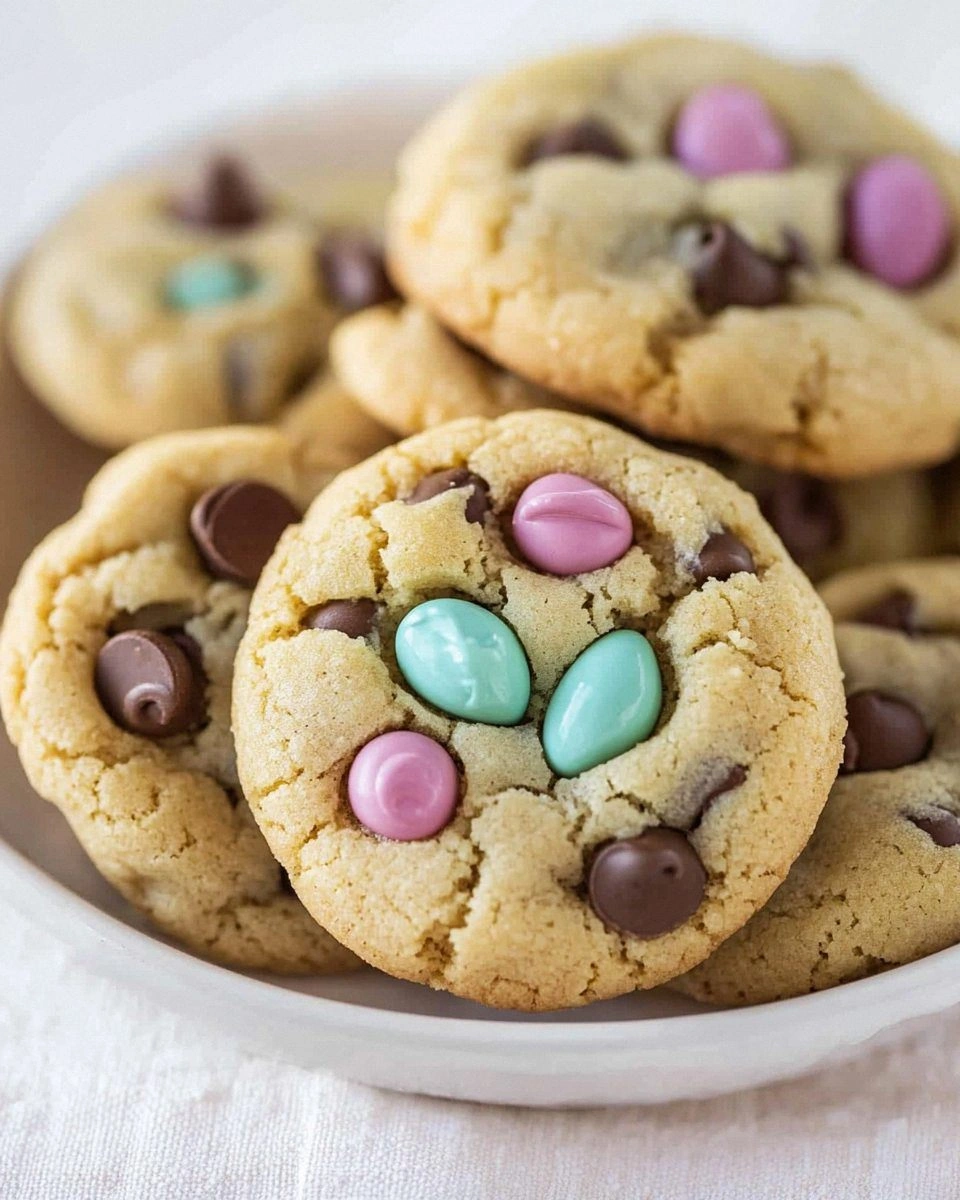
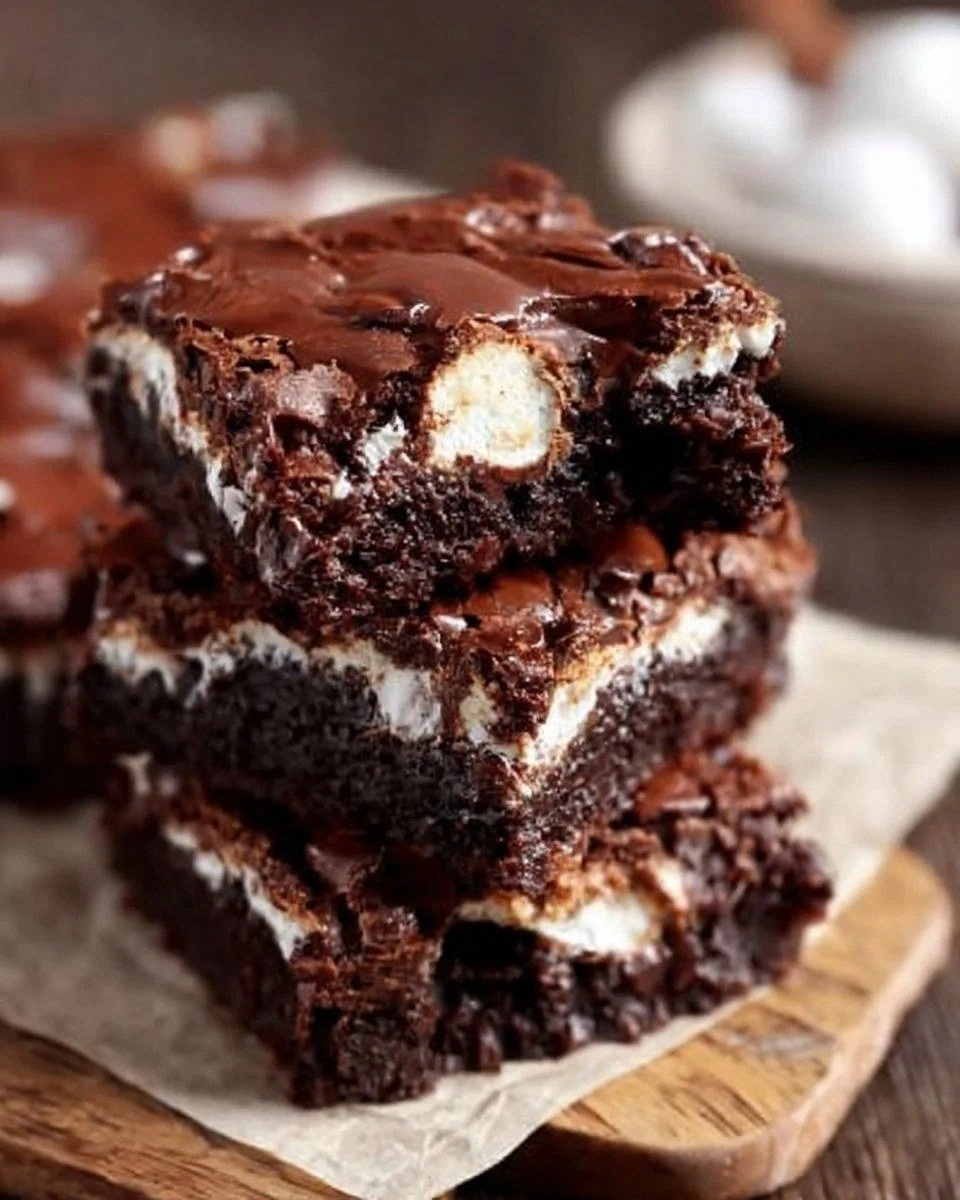
It was a rainy Tuesday and I was staring at the fridge like a detective at a crime scene. The only thing left was a half‑sized bag of pecans, a jar of caramel candies, and a can of sweetened condensed milk that had been hiding in the back for months. I dared myself to turn that pantry apocalypse into a dessert that would make my friends question their life choices. I grabbed a handful of flour, a cup of brown sugar, and melted butter, and the kitchen started to feel like a laboratory where the smell of toasted sugar was the main reaction. The sound of the butter sizzle in the pan was a warning that something delicious was about to happen, and I couldn’t help but grin at the inevitable sticky mess that would soon become the centerpiece of a new family favorite.
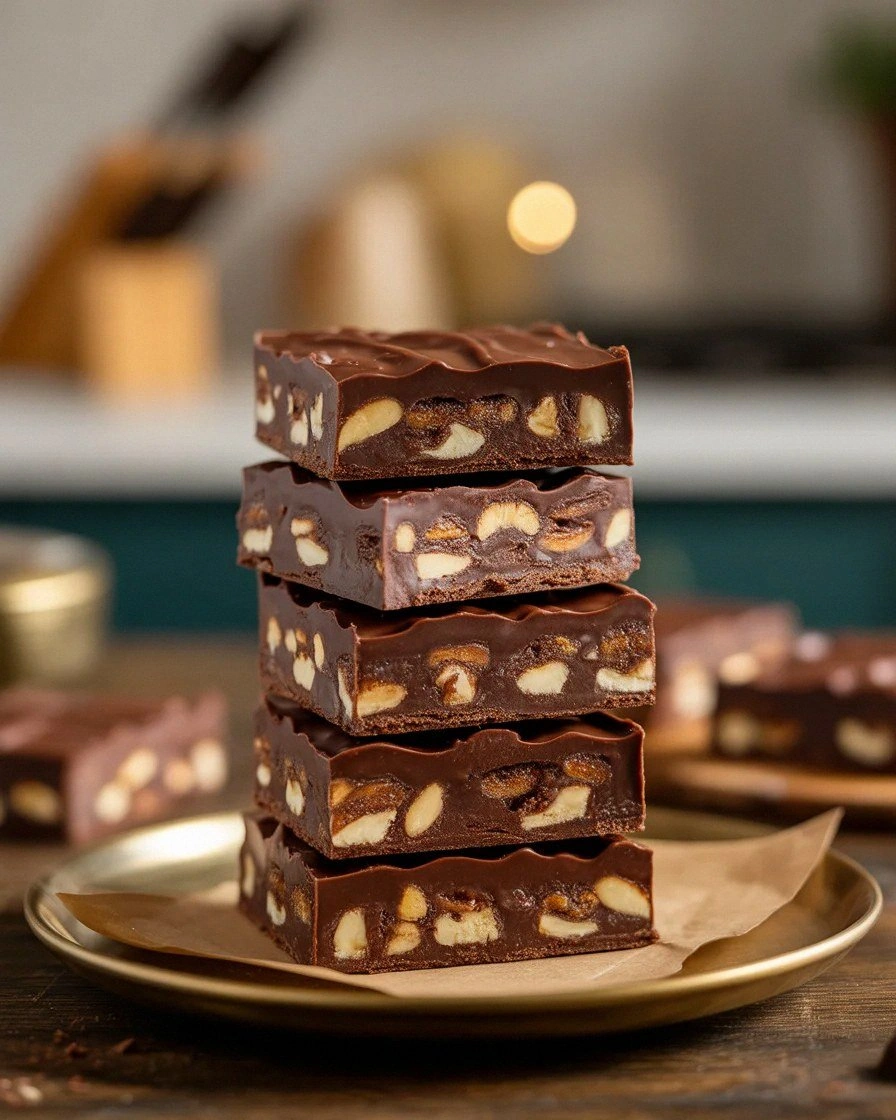
Picture this: a golden crust that cracks like brittle snow under your fingers, a center that oozes molten chocolate and caramel, and a crunch that shatters like thin ice when you bite into it. That’s the sensory orchestra I’ve built around this recipe. The air is thick with the scent of toasted pecans and the sweet, buttery undertone of caramel. When you take the first bite, the chocolate melts into a silky river that runs over your tongue, while the caramel provides a chewy counterpoint that makes the whole thing feel like a candy bar that never stops giving. If you’re a fan of layers of texture and flavor, you’ll notice that every component has a purpose, and the combination feels like a well‑tuned jazz trio that never oversteps its bounds.
I’ve spent months tweaking this version, and it’s hands down the best iteration I’ve ever made at home. The secret? A precise balance of butter and sugar that creates a base so silky it feels like a velvet blanket for the chocolate, and a generous splash of pecans that adds a nutty crunch that’s both satisfying and unexpected. The caramel candies aren’t just for show; they melt into a gooey ribbon that ties everything together. And the best part? It’s so simple you’ll wonder why you ever thought this was a complicated dessert. I dare you to taste this and not go back for seconds. If you do, I’ll have to ask why you’re not a dessert addict yet.
Most people think they’re making a simple chocolate bar, but they’re missing the depth of flavor that comes from the caramel and pecans. This version is a playground of textures and tastes, a sweet-salty dance that ends in a buttery finish that lingers on your palate. Picture yourself pulling this out of the oven, the whole kitchen smelling incredible, and knowing that you’ve just created something that will be the talk of the next dinner party. Stay with me here — this is worth it, and I’ll walk you through every single step so you can feel the confidence of a seasoned baker even if you’re a novice. Let’s dive in.
What Makes This Version Stand Out
- Flavor Depth: The caramel candies melt into a sweet, buttery ribbon that contrasts with the sharpness of the chocolate, creating a multi‑layered taste experience that’s hard to beat.
- Texture Variety: From the crisp edges of toasted pecans to the silky chocolate core and the chewy caramel, each bite delivers a new sensation that keeps you coming back.
- Simplicity: Only eight ingredients, no fancy equipment, and a straightforward method that anyone can master in under an hour.
- Make‑ahead Friendly: Chill the finished bars for a few hours, or even freeze them, and they’ll still taste as fresh as when you first made them.
- Ingredient Quality: Using real butter and high‑quality chocolate chips elevates the flavor profile, making the bars feel indulgent without the need for expensive ingredients.
- Versatility: The base can be adapted for gluten‑free or vegan versions, making it a go‑to dessert for almost any dietary preference.
- Party‑Ready: The bars are bite‑size, making them perfect for potlucks, office snacks, or a quick sweet fix after dinner.
- Visual Appeal: The glossy chocolate coating and visible caramel swirls create a dessert that looks as good as it tastes.
Alright, let’s break down exactly what goes into this masterpiece…
Inside the Ingredient List
The Flavor Base
All-purpose flour is the silent hero that binds everything together. It gives the bars structure without making them dense. If you skip it, you’ll end up with a sticky mess that won’t set. A good rule of thumb: use a low‑protein flour like cake flour if you want an even softer crumb, but for the classic texture, stick to all-purpose.
The Sweetener
Packed brown sugar brings a subtle molasses undertone that complements the caramel and chocolate. The more sugar you add, the sweeter and more caramelized the crust becomes. If you’re watching your sugar intake, you can reduce it by a quarter cup, but be prepared for a slightly drier bar.
The Unexpected Star
Soft caramel candies are the secret sauce. When melted, they create a glossy, glossy ribbon that ties all flavors together. If you can’t find soft caramels, you can substitute with a small amount of honey or maple syrup, but the texture will change slightly. The key is to keep them soft enough to melt without becoming too runny.
The Final Flourish
Chopped pecans add a nutty crunch that contrasts with the smooth chocolate and caramel. They also provide a subtle earthy note that balances the sweetness. If you’re allergic to nuts, walnuts or hazelnuts can be a fine alternative, but the flavor profile will shift slightly toward a more buttery taste.
Everything's prepped? Good. Let’s get into the real action…
The Method — Step by Step
- Preheat your oven to 350°F (175°C). Line an 8-inch square baking pan with parchment paper, leaving a little overhang on the sides for easy removal. This step might seem trivial, but a properly lined pan ensures your bars stay intact when you lift them out.
- In a large mixing bowl, whisk together the flour, packed brown sugar, and ½ teaspoon of salt. The salt is crucial; it enhances the sweetness and balances the richness of the chocolate and caramel. Stir until the dry mix is uniform.
- Add the melted butter to the dry mixture. Stir until the batter resembles coarse crumbs. The butter should be completely melted; if it’s too hot, it can cause the batter to become greasy. This step is the moment of truth where the texture begins to form.
- Pour the sweetened condensed milk over the batter and mix until the dough comes together. The condensed milk adds a creamy body that keeps the bars moist. Be careful not to overmix, or you’ll develop gluten and end up with a tough bar.
- Fold in the semi‑sweet chocolate chips. The chips should be evenly distributed so that every bite has a chocolate surprise. If you prefer a smoother chocolate experience, you can melt the chips slightly before folding them in.
- Add the chopped pecans to the mixture and give it one final gentle stir. The pecans will provide that satisfying crunch and a nutty aroma that elevates the overall flavor profile.
- Press the dough firmly into the prepared pan. Use a flat-bottomed glass or the back of a spoon to smooth the top. The tighter you press, the firmer the bars will be, which helps them hold their shape when you cut them.
- Bake for 25-30 minutes, or until the edges are golden brown and a toothpick comes out with just a few crumbs attached. The center should still feel slightly soft; it will firm up as it cools.
- Let the bars cool in the pan for 10 minutes, then lift them out using the parchment overhang. Place them on a wire rack to cool completely. This cooling period allows the caramel to set just right and the chocolate to firm up.
- Once cooled, cut the bars into bite‑sized squares. Serve immediately, or store in an airtight container at room temperature for up to a week. For a longer shelf life, keep them in the refrigerator or freezer; they’ll stay fresh for months.
That’s it — you did it. But hold on, I’ve got a few more tricks that will take this to another level…
Insider Tricks for Flawless Results
The Temperature Rule Nobody Follows
Many bakers think room temperature butter is fine, but melted butter gives the bars a silkier base. The trick is to melt the butter just enough so it’s liquid but not scorching. If it’s too hot, the batter will become greasy; if it’s too cool, it won’t bind properly. I keep a thermometer handy to keep the temperature between 180-190°F (82-88°C).
Why Your Nose Knows Best
When baking, the aroma is a reliable indicator of progress. If you smell a subtle nutty scent, it means the pecans are starting to release their oils, and the chocolate is melting into a glossy sheen. If the scent is overwhelmingly sweet, you’re probably overbaking, so lower the temperature or reduce the baking time.
The 5-Minute Rest That Changes Everything
After baking, let the bars rest in the pan for exactly five minutes before lifting them out. This short pause allows the caramel to set just enough to hold its shape, preventing it from sliding off when you cut the bars. I’ve tried cutting immediately, and the result was a mess of melted caramel.
Use a Silicone Baking Mat
A silicone mat keeps the bars from sticking to the pan, making cleanup a breeze. It also ensures even heat distribution, so the bars bake uniformly. If you don’t have a mat, parchment paper works, but you’ll need to be extra careful when lifting the bars.
Add a Splash of Water Before Reheating
If you’re reheating leftovers, sprinkle a tiny splash of water over the bars before microwaving. The water creates steam, which helps the chocolate regain its glossy sheen without becoming too hard. I’ve tested this trick, and it works every time.
Creative Twists and Variations
This recipe is a playground. Here are some of my favorite ways to switch things up:
Nutty Explosion
Swap the pecans for a mix of almonds, walnuts, and pistachios. The diverse nut flavors will add complexity, and the different textures will keep each bite interesting.
Caramel‑Chocolate Swirl
Drizzle melted caramel over the top of the bars before baking. The caramel will set into a glossy swirl, creating a visually stunning finish that’s also a flavor bomb.
Sea‑Salted Sweetness
Add a pinch of sea salt to the batter, and sprinkle flaky sea salt on top after baking. The salt crystals add a delightful crunch and elevate the sweetness.
Spiced Variation
Add a teaspoon of ground cinnamon or a pinch of cayenne pepper to the batter. The warmth of cinnamon pairs beautifully with caramel, while cayenne gives a subtle kick that’s surprisingly harmonious.
Moisture Boost
Incorporate a tablespoon of espresso powder into the batter. The coffee flavor intensifies the chocolate notes and adds a subtle depth that’s perfect for coffee lovers.
Storing and Bringing It Back to Life
Fridge Storage
Store the bars in an airtight container at room temperature for up to a week. If you notice any moisture, cover the container with parchment paper to keep the bars from becoming soggy.
Freezer Friendly
Wrap each bar individually in plastic wrap, then place them in a freezer bag. They’ll stay fresh for up to 3 months. When you’re ready to enjoy, let them sit at room temperature for 10 minutes before serving.
Best Reheating Method
To reheat a single bar, microwave it on medium power for 10-15 seconds, or place it in a preheated oven at 300°F (150°C) for 5 minutes. A splash of water before microwaving can help restore the chocolate’s shine.