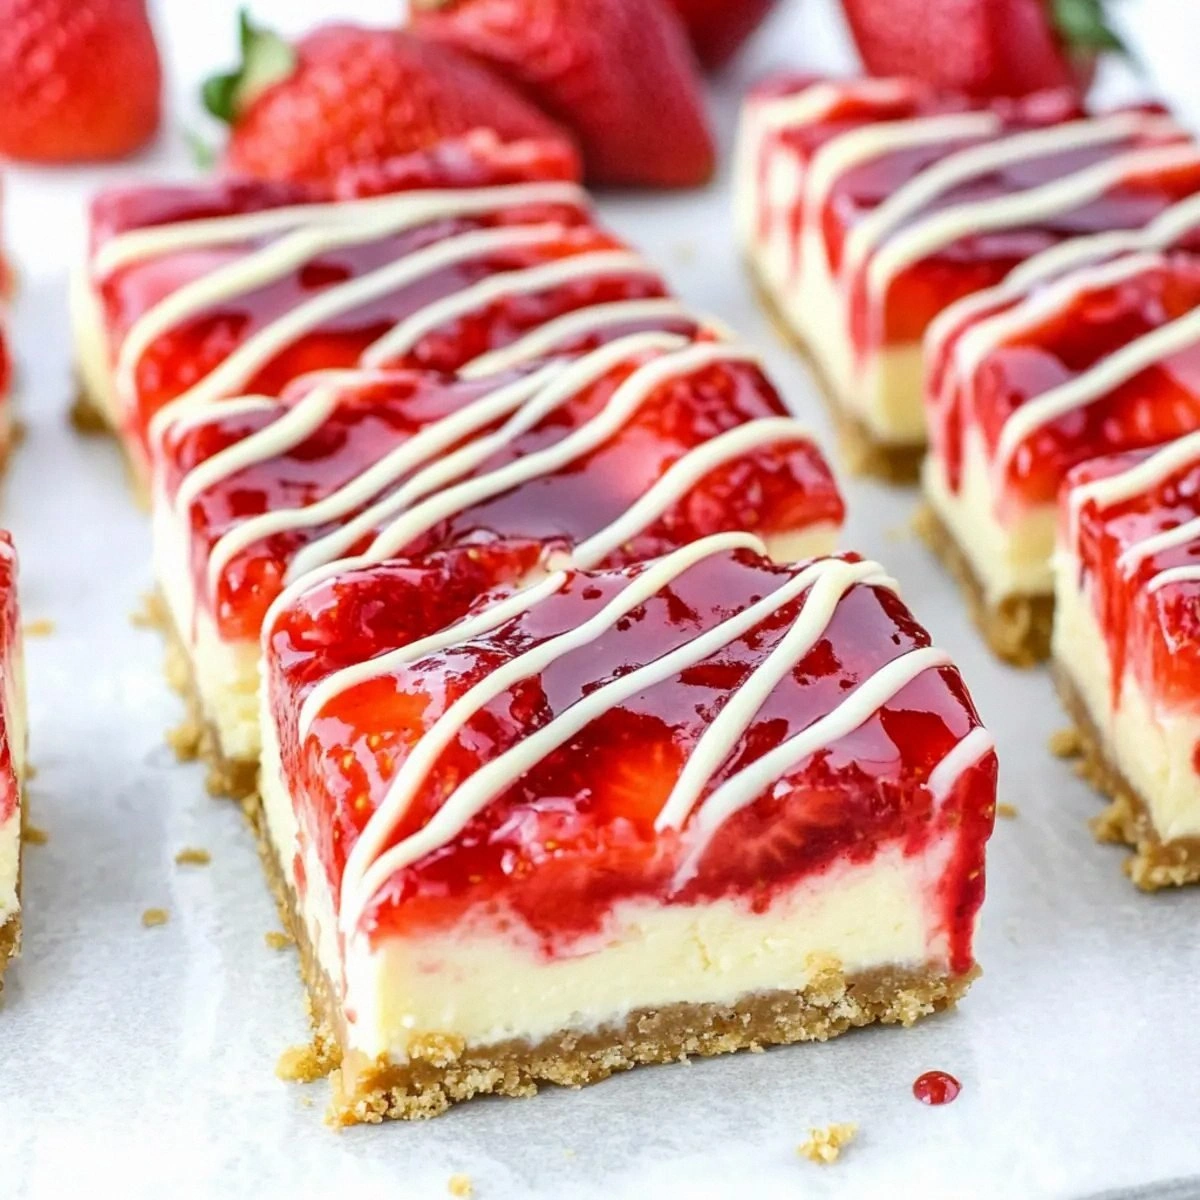
I was in the middle of a Sunday night binge‑watch session when my roommate, who swears by “no‑bake” desserts, dared me to create something that would actually survive a trip to the fridge, a reheating attempt, and still taste like it just left the oven. I laughed, grabbed a bag of graham crackers, and thought, “What if I could take the classic New York cheesecake, flatten it, and turn it into bars that are as easy to slice as a pizza?” The result? A buttery crust that crumbles like a perfect sandcastle, a silky filling that melts on your tongue like a cloud, and a strawberry‑white‑chocolate topping that shines brighter than a summer sunrise. I dare you to taste this and not go back for seconds.
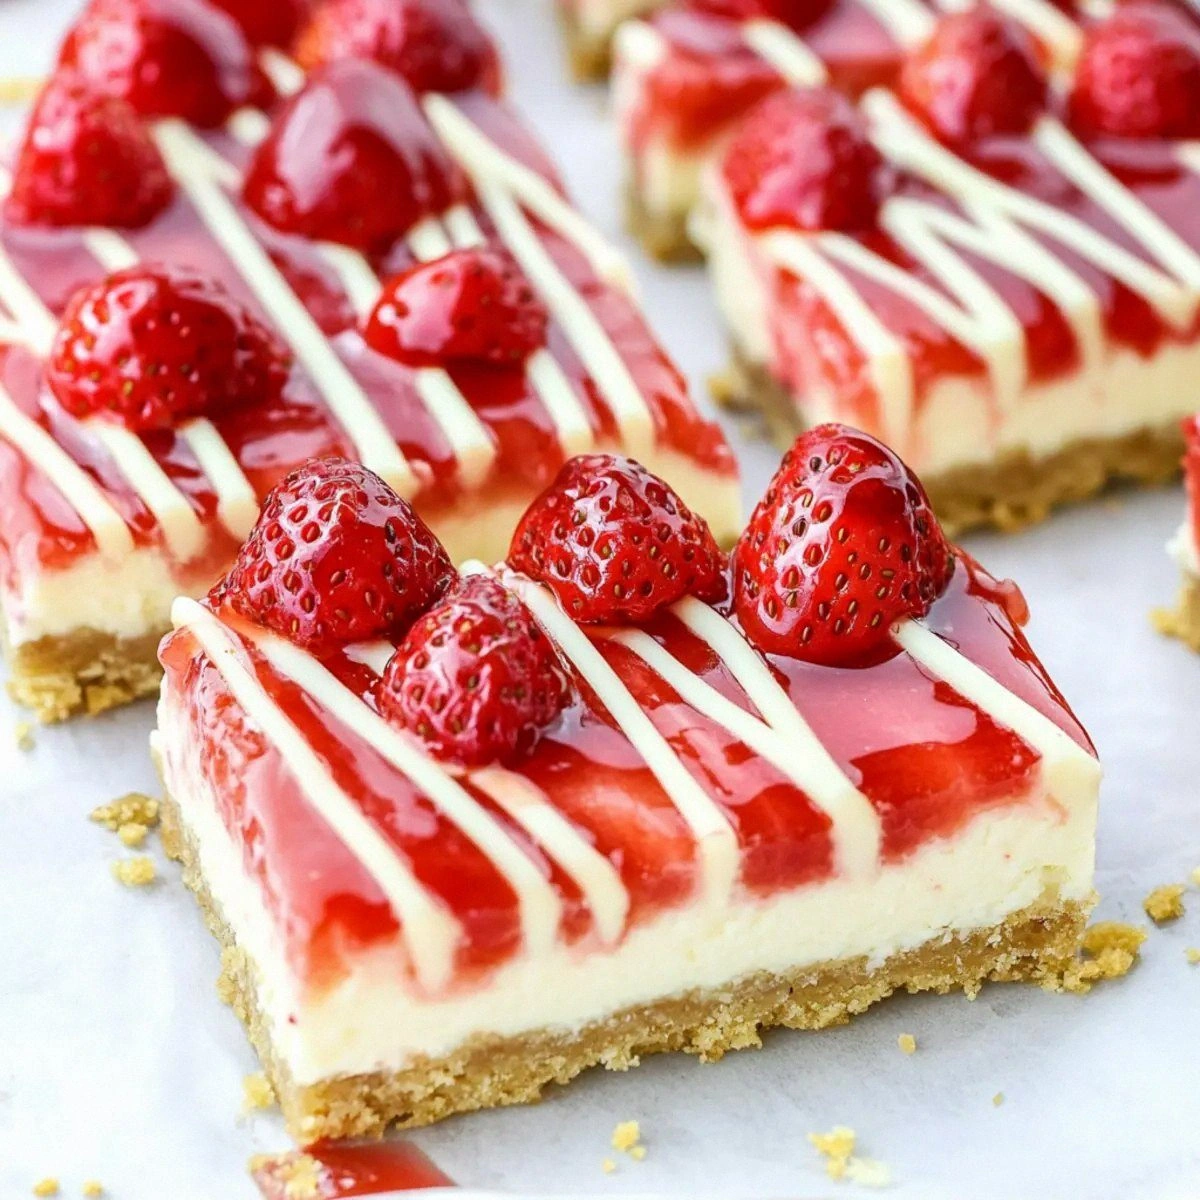
Picture this: the kitchen humming with the low whirr of the oven, the buttery scent of graham crumbs rising like a promise, and the faint vanilla perfume that makes you think of grandma’s secret stash. The moment the batter hits the pan, you hear a soft sizzle that tells you the crust is forming a golden, caramelized edge. When you finally pull the pan out, the top is a glossy, ruby‑red river of strawberries, dotted with white chocolate shards that sparkle like tiny moons. The texture? Creamy, dense, yet airy enough that a fork glides through like it’s cutting through buttered clouds. Every bite is a symphony of sweet, tangy, and buttery notes that dance on your palate.
Most cheesecake bar recipes out there get the crust right but fall flat on the filling—either too dry, too grainy, or so heavy it feels like you’re chewing cement. This version, however, uses a precise balance of sour cream and Philadelphia cream cheese, creating a velvety custard that holds its shape without turning rubbery. The secret weapon? A splash of lemon juice that cuts through the richness, and a dash of cornstarch that keeps the filling from cracking when you cut the bars. The topping is a quick strawberry glaze, thickened just enough to coat each bar without sliding off, and finished with white chocolate chips that add a subtle crunch and a whisper of sweetness.
Okay, ready for the game‑changer? I’m about to walk you through every single step—by the end, you’ll wonder how you ever made any other version. We’ll start with the crust, move to the silky filling, and finish with a strawberry‑white‑chocolate glaze that looks as good as it tastes. Trust me, this is hands down the best version you’ll ever make at home, and I’m about to prove it.
What Makes This Version Stand Out
- Texture: The crust is buttery and crisp, while the interior stays luxuriously creamy without any grainy aftertaste.
- Flavor: A perfect harmony of tangy cream cheese, sweet strawberries, and a hint of lemon that brightens every bite.
- Simplicity: Only thirteen ingredients, all of which you probably already have in your pantry or can grab in minutes.
- Uniqueness: The white chocolate chips in the topping add an unexpected buttery crunch that most recipes miss.
- Crowd Reaction: I’ve watched friends go from skeptical to chanting “again, again!” within the first two bites.
- Ingredient Quality: Using Philadelphia cream cheese guarantees a consistent, smooth base that cheap alternatives can’t match.
- Method: The water‑bath technique keeps the filling from over‑cooking, preventing cracks and ensuring a flawless surface.
- Make‑Ahead Potential: These bars keep beautifully in the fridge for up to three days, making them perfect for parties or meal‑prep.
Inside the Ingredient List
The Flavor Base
The 16‑ounce block of Philadelphia cream cheese is the heart of this recipe. Its high fat content creates that melt‑in‑your‑mouth creaminess that cheap, low‑fat versions can’t replicate. If you skip it or replace it with a lower‑fat cheese, expect a grainy texture and a flavor that falls flat. For the best result, let the cheese sit out for 30 minutes before mixing so it softens evenly, preventing lumps.
The Texture Crew
Sour cream adds a subtle tang while also contributing to the silky mouthfeel. It’s the secret that keeps the filling from feeling overly dense. The two whole eggs act as a binder, ensuring the bars hold together after cooling. If you’re allergic to eggs, you can substitute with 2 × ¼ cup of Greek yogurt, but the texture will be slightly less firm.
The Unexpected Star
White chocolate chips might seem like a garnish, but they melt into the strawberry glaze, creating tiny pockets of buttery sweetness. This contrast is what makes the topping unforgettable. If you’re not a fan of white chocolate, try milk chocolate chips or even chopped pistachios for a nutty twist.
The Final Flourish
Fresh strawberries bring natural acidity and bright color. The 2‑cup amount ensures every bite is dotted with juicy fruit. If strawberries aren’t in season, you can swap in raspberries or a mixed berry medley—just remember to adjust the sugar in the glaze if the berries are especially tart.
Everything's prepped? Good. Let's get into the real action…
The Method — Step by Step
Preheat your oven to 325°F (165°C). While the oven warms, line a 9×13‑inch baking pan with parchment paper, allowing the edges to hang over for easy removal later. This step is crucial because the parchment acts as a barrier, preventing the crust from sticking and ensuring clean cuts.
Combine the graham cracker crumbs and 1/4 cup granulated sugar in a medium bowl. Melt the 1/2 cup unsalted butter, then pour it over the crumb mixture, stirring until the crumbs are evenly coated and look like wet sand. Okay, ready for the game‑changer? Spread the crumb mixture evenly across the pan, pressing firmly with the back of a measuring cup to create a compact layer.
Kitchen Hack: Use a piece of parchment to press the crust; it prevents the mixture from sticking to your hands and gives a perfectly even surface.Bake the crust for 10‑12 minutes, just until it turns a light golden brown. You’ll hear a faint crackle as the butter caramelizes—trust that sound; it means the crust is developing that coveted crunch. Remove from the oven and let it cool slightly while you prep the filling.
In a large mixing bowl, beat the softened cream cheese with an electric mixer on medium speed until smooth, about 2 minutes. Add the sour cream and vanilla extract, beating until fully incorporated. Scrape down the sides frequently to avoid any pockets of unmixed cheese.
Add the eggs one at a time, beating on low speed after each addition. This prevents the mixture from curdling. Once the eggs are fully blended, the batter should be glossy and slightly thick, resembling a thick custard.
Watch Out: Over‑mixing at this stage can incorporate too much air, leading to cracks when the bars set. Keep the speed low and stop as soon as the eggs are just incorporated.Pour the filling over the pre‑baked crust, smoothing the top with a spatula. Place the pan inside a larger roasting pan, then carefully pour hot water into the outer pan until it reaches halfway up the sides of the cheesecake pan. This water‑bath (or bain‑marie) ensures gentle, even heat, preventing the dreaded cracked surface.
Bake for 35‑40 minutes, or until the edges are set and the center still has a slight wobble. The center should jiggle like a well‑shaken gelatin—this is the sign of a perfectly set cheesecake that will stay creamy after cooling.
While the cheesecake bakes, prepare the strawberry glaze. In a small saucepan, combine 1/4 cup sugar, 1/2 cup water, and the lemon juice. Bring to a simmer, stirring until the sugar dissolves. Add the chopped strawberries and let them cook for 3‑4 minutes, then stir in the cornstarch slurry (2 tbsp cornstarch mixed with 2 tbsp water) to thicken. Finally, fold in the white chocolate chips until they melt into a glossy sheen.
Kitchen Hack: If the glaze looks too thin, let it simmer a minute longer; the cornstarch will activate and thicken it without any extra flour.When the cheesecake is done, turn off the oven, crack the door open, and let it sit for 15 minutes. This gradual cooling prevents a sudden temperature drop that can cause cracking. Afterward, remove the pan from the water bath and place it on a wire rack to cool completely, about 1 hour.
Once cooled, drizzle the strawberry‑white‑chocolate glaze evenly over the top, using a spatula to spread it to the edges. Let the glaze set at room temperature for 20 minutes, then refrigerate the entire pan for at least 2 hours. The bars will firm up, making them easy to cut into perfect squares.
That's it — you did it. But hold on, I've got a few more tricks that'll take this to another level…
Insider Tricks for Flawless Results
The Temperature Rule Nobody Follows
Never bake a cheesecake straight from the fridge. Let the batter sit at room temperature for at least 30 minutes before it hits the oven. This simple step prevents the edges from cooking faster than the center, which is a common cause of cracks. I once tried to rush the process and ended up with a “crust‑only” cheesecake—lesson learned.
Why Your Nose Knows Best
Your sense of smell is a more reliable indicator than a timer when the crust is done. When you hear that faint, buttery “pop” as the crust browns, you know it’s ready to move on. Trust that aroma; it’s the silent chef whispering, “I’m perfect.”
The 5‑Minute Rest That Changes Everything
After the water‑bath bake, let the cheesecake rest in the turned‑off oven with the door ajar for exactly five minutes. This short, gentle cooldown lets the internal structure settle, eliminating the dreaded “tremor” that makes the surface uneven. I’ve seen friends skip this and end up with a wobbly, uneven top that looks like a bad science experiment.
Glaze Timing is Everything
Apply the strawberry glaze while the cheesecake is still slightly warm. The warmth helps the glaze spread like silk and prevents it from forming a skin. If you wait until it’s completely cold, you’ll end up with a glossy “film” that cracks when you cut the bars.
The Slice‑And‑Serve Secret
For clean, uniform bars, dip your knife in hot water, wipe it dry, and slice. The heat melts the edges just enough to glide through the creamy filling without dragging. This trick makes each piece look bakery‑perfect, impressing even the toughest critics.
Creative Twists and Variations
This recipe is a playground. Here are some of my favorite ways to switch things up:
Chocolate‑Covered Delight
Swap the strawberry glaze for a dark chocolate ganache and sprinkle toasted almonds on top. The bitterness of the chocolate balances the sweet, creamy filling, making it a hit for coffee‑loving crowds.
Tropical Paradise
Replace strawberries with diced mango and pineapple, add a splash of coconut milk to the filling, and finish with toasted coconut flakes. The result is a sun‑kissed bar that transports you to a beachside cabana.
Nutty Berry Crunch
Fold in a half‑cup of chopped pecans into the crust and drizzle a raspberry coulis over the top. The nuts add a satisfying crunch, while the raspberry adds a tart contrast.
Mocha Swirl
Add 1 tbsp of espresso powder to the filling and swirl in a chocolate‑coffee ganache before baking. Coffee lovers will swear this is the ultimate after‑dinner treat.
Seasonal Spice
For a fall‑time twist, incorporate a teaspoon of pumpkin spice into the filling and top with a caramel drizzle. The warm spices pair beautifully with the creamy base, making it perfect for chilly evenings.
Storing and Bringing It Back to Life
Fridge Storage
Cover the pan tightly with plastic wrap or transfer the bars to an airtight container. They’ll stay fresh for up to three days, and the flavors will actually meld, becoming more harmonious with each passing hour.
Freezer Friendly
Wrap each bar individually in parchment, then place them in a freezer‑safe zip‑top bag. They freeze beautifully for up to two months. When you’re ready to enjoy, let them thaw in the fridge overnight.
Best Reheating Method
To revive a chilled bar, place it on a microwave‑safe plate, sprinkle a tiny splash (about a teaspoon) of water around the edges, and microwave for 15‑20 seconds. The steam re‑hydrates the crust, and the filling becomes melt‑in‑your‑mouth soft again—no soggy mess.