
Mini Grilled Cheese
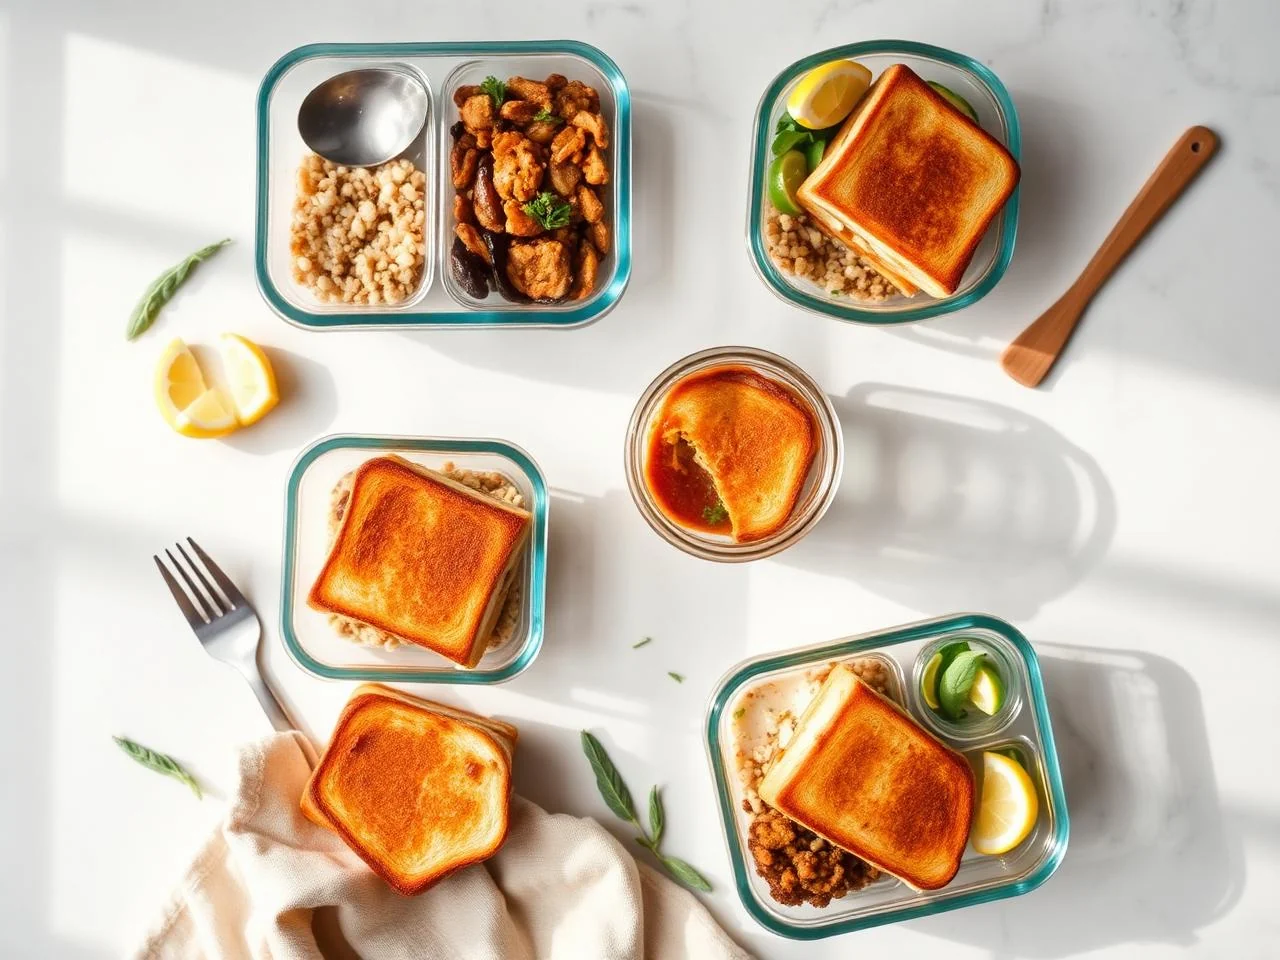
There's something undeniably comforting about a grilled cheese sandwich, and when you shrink it down to bite-sized, it becomes almost irresistible. I remember making these for my family on busy weeknights when everyone needed a quick pick-me-up. The combination of gooey cheese, crispy bread, and the simplicity of the dish made it an instant hit.
What makes this recipe special is its versatility and ease of preparation. Whether you're making them for a crowd or just for yourself, these mini grilled cheese sandwiches can be prepared ahead of time, stored, and reheated without losing any of their charm. They're perfect for meal prep, parties, or just a quick snack when you need something satisfying.
The key to a great grilled cheese is in the balance of flavors and textures. You want a cheese that melts beautifully but still retains some of its bite, bread that crisps up nicely without becoming too crunchy, and a cooking process that brings it all together without drying out the sandwich. It's a delicate balance, but with the right technique and ingredients, it's easily achievable.
This recipe is designed for anyone looking for a simple, delicious, and easy-to-make snack or meal prep option. Whether you're a busy professional, a parent looking for quick meal ideas, or just someone who loves the comfort of a well-made grilled cheese, this recipe is for you. So, let's dive into the world of mini grilled cheese and explore what makes this dish so special and how you can easily make it at home.
When to make it? Anytime you need a comforting meal or snack that's easy to prepare and always a hit. From weeknights to weekend gatherings, these mini grilled cheese sandwiches are sure to please. They're also a great option for school lunches, picnics, or any occasion where you want something easy to grab and go.
Why You’ll Love This Recipe
- This recipe is incredibly easy to make and requires minimal ingredients.
- It's perfect for meal prep, as the sandwiches can be made ahead of time, stored, and reheated when needed.
- The mini size makes them ideal for snacking, parties, or as a fun twist on the classic grilled cheese.
- You can customize the fillings to suit your tastes, from classic cheese to adding meats, vegetables, or spreads.
- The recipe is budget-friendly, using common ingredients that are likely already in your pantry.
- It's a crowd-pleaser, suitable for both kids and adults, making it a great option for family gatherings or events.
Why This Recipe Works
The success of this recipe lies in its simplicity and the attention to detail in each step. By using a combination of cheeses that melt well and have a good balance of flavors, you ensure that every bite is satisfying. The type of bread used is also crucial; it needs to be sturdy enough to hold the cheese and any fillings, but still yield a nice crispiness when grilled.
The technique of grilling the sandwiches is also important. Cooking them over medium heat allows for a nice golden crust to form on the bread without burning, while the inside gets sufficiently melted and gooey. This balance is key to a great grilled cheese.
Furthermore, the resting time after grilling allows the cheese to set slightly, making the sandwiches easier to handle and more stable for serving. This step is often overlooked but is crucial for the overall texture and presentation of the dish.
Ingredients You’ll Need
When it comes to the ingredients, simplicity is key. You'll need a good quality bread that can hold up to the cheese and any additional fillings, a blend of cheeses for the best flavor, and a bit of butter for that golden crust. The beauty of this recipe is that you can customize it with your favorite cheeses and add-ins, making it versatile and fun to experiment with.
Shopping for the ingredients is straightforward. Look for a bread that's dense but still soft, like a challah or a hearty white bread. For the cheese, a mix of cheddar for its sharpness and mozzarella for its melt is a great starting point. Don't forget the butter, as it adds a richness and helps in achieving that perfect crust.
- 8 slices of white breadLook for a dense but soft bread that can hold the cheese and fillings without becoming too soggy or falling apart.
- 2 tablespoons unsalted butter, softenedButter is essential for the golden crust and for adding flavor to the bread; use high-quality, softened butter for the best results.
- 1/2 cup cheddar cheese, shreddedCheddar adds a sharp, tangy flavor to the grilled cheese; you can use a mild or sharp cheddar depending on your preference.
- 1/2 cup mozzarella cheese, shreddedMozzarella melts beautifully and adds a creamy texture to the sandwich; use a high-moisture mozzarella for the best melting properties.
- 1/4 cup grated Parmesan cheeseParmesan adds a salty, nutty flavor and a bit of crunch; use a good quality, aged Parmesan for the best flavor.
- 1/2 teaspoon saltSalt enhances the flavors of the cheese and the bread; use a flaky sea salt or kosher salt for the best flavor.
- 1/4 teaspoon black pepperBlack pepper adds a subtle kick and complements the cheese; use freshly ground pepper for the best flavor.
- 2 tablespoons chopped fresh parsleyParsley adds a fresh flavor and a bit of color to the dish; use curly-leaf or flat-leaf parsley, whichever you prefer.
- 1 tablespoon Dijon mustard, optionalDijon mustard adds a tangy, slightly spicy flavor; use it if you like a bit of zing in your grilled cheese.
- 1/4 cup sliced ham or turkey, optionalAdding sliced meats like ham or turkey can add protein and variety to your grilled cheese; choose meats that are thinly sliced and of good quality.
- 1/4 cup sliced tomatoes, optionalFresh tomatoes can add a burst of juicy flavor and freshness; use ripe, flavorful tomatoes for the best results.
Equipment You’ll Need
How to Make Mini Grilled Cheese
- 1Preheat your skillet or griddle over medium heat, about 325°F to 350°F, until it reaches a stable temperature.
- 2Butter one side of each slice of bread. This will be the side that faces outwards when you assemble the sandwiches.
- 3On the unbuttered side of four slices of bread, spread a layer of Dijon mustard if using, followed by a sprinkle of salt and pepper.
- 4Divide the cheddar, mozzarella, and Parmesan cheese among the four slices of bread, spreading it evenly but leaving a small border around the edges.
- 5Add any optional fillings like sliced ham or turkey on top of the cheese.
- 6Place the remaining four slices of bread, buttered side up, on top of the fillings to complete the sandwiches.
- 7Place the sandwiches in the preheated skillet or griddle, buttered side down. Cook for about 2-3 minutes or until the bread is golden brown and the butter is melted.
- 8Flip the sandwiches over and cook for an additional 2-3 minutes or until the other side is also golden brown.
- 9Check the sandwiches for doneness by ensuring the cheese is melted and the bread is toasted. If necessary, cover the skillet with a lid to help melt the cheese.
- 10Remove the sandwiches from the heat and let them rest for a minute or two before slicing and serving.
- 11Serve the mini grilled cheese hot, garnished with chopped parsley and any additional toppings you like.
Expert Tips
- Use a variety of cheeses for the best flavor. Mixing sharp and mild cheeses gives a complex taste.
- Don't overfill the sandwiches. Too much cheese or filling can make them difficult to cook evenly and can lead to a mess.
- Keep an eye on the heat. If the skillet is too hot, the bread can burn before the cheese melts.
- Let the sandwiches rest before serving. This allows the cheese to set and the bread to retain its texture.
- Experiment with different types of bread and fillings to find your favorite combination.
- For an extra crispy crust, grill the sandwiches in a panini press or under the broiler for a few seconds after cooking.
Common Mistakes to Avoid
- Using low-quality cheese that doesn't melt well can result in a dry, unpleasant sandwich.
- Not buttering the bread evenly can lead to an unevenly cooked crust.
- Overcrowding the skillet can lower the temperature and prevent the sandwiches from cooking properly.
- Not letting the sandwiches rest can make them difficult to handle and less enjoyable to eat.
- Using too much filling can make the sandwich fall apart when cooked.
- Not monitoring the heat can result in burnt bread or undercooked cheese.
Variations and Substitutions
- Add some spice with sliced jalapeños or pepper jack cheese.
- Use different types of cheese like gouda, provolone, or feta for unique flavors.
- Add some freshness with sliced cucumbers, spinach, or bell peppers.
- Use whole wheat or sourdough bread for a nuttier flavor.
- Add some meat like roast beef, chicken, or bacon for added protein.
- Try using a panini press for an extra crispy exterior and melted interior.
What to Serve With Mini Grilled Cheese
Serving mini grilled cheese sandwiches is as flexible as making them. They're perfect on their own as a snack, or you can serve them with a bowl of tomato soup for a comforting meal. For a party, consider pairing them with a variety of dips like marinara or spinach and artichoke dip.
Other great pairings include a fresh green salad, a fruit salad for a lighter option, or a bowl of chips for a satisfying crunch. If you're looking for something a bit more substantial, consider serving the mini grilled cheese alongside a bowl of chili or a hearty stew.
Make-Ahead, Storage, Freezing and Reheating
One of the best things about mini grilled cheese sandwiches is how well they store and reheat. After cooking, let the sandwiches cool completely on a wire rack. This step is crucial as it helps prevent the bread from becoming soggy.
Once cooled, you can store the sandwiches in an airtight container in the refrigerator for up to 3 days. To reheat, simply place the sandwiches in a toaster oven at 350°F for about 5-7 minutes, or until the cheese is melted and the bread is toasted again.
For longer storage, consider freezing the sandwiches. Place them in a single layer in a freezer-safe bag or container and store for up to 2 months. To reheat frozen sandwiches, place them in the toaster oven at 350°F for about 10-12 minutes, or until the cheese is melted and the bread is toasted.
When reheating, it's essential to keep an eye on the sandwiches to ensure they don't overcook. You can also reheat them in a microwave, but be cautious as the results can be less consistent, and the bread might become soggy.
Frequently Asked Questions
What's the best type of cheese to use for grilled cheese?
A mix of cheddar and mozzarella provides a good balance of flavor and melting properties. However, feel free to experiment with different cheeses to find your favorite combination.
Can I make these sandwiches ahead of time?
Yes, you can assemble the sandwiches up to a day in advance, but it's best to cook them just before serving for the crispiest bread and melted cheese.
How do I prevent the bread from getting soggy?
Letting the sandwiches cool completely before storing them and using a wire rack can help prevent sogginess. Also, toasting the bread before adding the cheese can help it hold up better.
Can I freeze the sandwiches?
Yes, you can freeze the sandwiches for up to 2 months. Simply place them in a freezer-safe bag or container and reheat in the toaster oven when needed.
What's the best way to reheat frozen sandwiches?
Reheating frozen sandwiches in a toaster oven at 350°F for about 10-12 minutes works well. Keep an eye on them to ensure they don't overcook.
Can I use other types of bread?
Yes, you can experiment with different types of bread, such as whole wheat, sourdough, or even gluten-free options. Just ensure the bread is sturdy enough to hold the fillings and cheese.
How do I add fillings without making the sandwich too messy?
Use a light hand when adding fillings, and consider layering them in a way that they're evenly distributed and won't fall out when the sandwich is cooked.
Can I make these sandwiches in a panini press?
Yes, a panini press can be used to make these sandwiches. It will give you a crispy exterior and a melted interior. Simply place the sandwich in the press and cook according to the manufacturer's instructions.
Ingredients
- 8 slices of white bread
- 2 tablespoons unsalted butter, softened
- 1/2 cup cheddar cheese, shredded
- 1/2 cup mozzarella cheese, shredded
- 1/4 cup grated Parmesan cheese
- 1/2 teaspoon salt
- 1/4 teaspoon black pepper
- 2 tablespoons chopped fresh parsley
- 1 tablespoon Dijon mustard, optional
- 1/4 cup sliced ham or turkey, optional
- 1/4 cup sliced tomatoes, optional
Instructions
- Preheat your skillet or griddle over medium heat, about 325°F to 350°F, until it reaches a stable temperature.
- Butter one side of each slice of bread. This will be the side that faces outwards when you assemble the sandwiches.
- On the unbuttered side of four slices of bread, spread a layer of Dijon mustard if using, followed by a sprinkle of salt and pepper.
- Divide the cheddar, mozzarella, and Parmesan cheese among the four slices of bread, spreading it evenly but leaving a small border around the edges.
- Add any optional fillings like sliced ham or turkey on top of the cheese.
- Place the remaining four slices of bread, buttered side up, on top of the fillings to complete the sandwiches.
- Place the sandwiches in the preheated skillet or griddle, buttered side down. Cook for about 2-3 minutes or until the bread is golden brown and the butter is melted.
- Flip the sandwiches over and cook for an additional 2-3 minutes or until the other side is also golden brown.
- Check the sandwiches for doneness by ensuring the cheese is melted and the bread is toasted. If necessary, cover the skillet with a lid to help melt the cheese.
- Remove the sandwiches from the heat and let them rest for a minute or two before slicing and serving.
- Serve the mini grilled cheese hot, garnished with chopped parsley and any additional toppings you like.