Picture this: I was halfway through a weeknight dinner, the kitchen smelling like burnt toast, when my friend dared me to whip up something that could rescue the evening. I stared at the fridge, my stomach growling louder than the sizzling pan, and thought, “Why not make pancakes?” The idea of turning a kitchen mishap into a breakfast triumph sounded absurdly delicious. That night, I discovered a recipe that would become my go‑to rescue.
From the moment I poured the batter, a sweet, yeasty aroma drifted across the kitchen, like a warm hug from a grandma’s attic. The batter thickened to a silky custard, each spoonful promising a cloud of fluff. When I dropped the first ladle into the hot skillet, the gentle pop echoed like applause, and the edges curled with a golden sheen. I could taste the faint tang of Greek yogurt mingling with the buttery scent, hinting at a protein‑packed surprise. The anticipation was almost tangible, the kind that makes you reach for your phone to document every step.
This isn’t just another pancake recipe; it’s a symphony of textures and flavors that defy the ordinary. The secret lies in the Greek yogurt, which replaces half the liquid and introduces a creamy lift that makes each pancake rise like a cloud. The addition of baking soda, a trick often overlooked, gives a subtle lift without the chemical aftertaste. I dare you to taste this and not go back for seconds because the first bite is an explosion of sweet and savory that lingers. The result is a stack that’s light on the palate yet dense enough to satisfy a protein craving.
Now, let me walk you through every single step—by the end, you’ll wonder how you ever made pancakes any other way. The technique I’ll reveal will make your batter silky, your pancakes airy, and your kitchen smell like a bakery. I’ll also drop a trick you never saw in other recipes that will elevate the fluffiness to professional levels. Stay tuned, because this next part? Pure magic. Picture yourself pulling this out of the oven, the whole kitchen smelling incredible, and the first bite sending a ripple of delight through your taste buds. And trust me, you won’t be able to resist the second stack.
What Makes This Version Stand Out
- Fluffiness: The combination of Greek yogurt and baking soda creates a lift that rivals commercial pancake mixes, resulting in airy layers that melt in your mouth. This technique eliminates the dense, heavy feel that many homemade pancakes suffer from. The batter’s slight acidity also helps the leavening agents activate faster, giving you a consistent rise every time.
- Protein Punch: Each pancake packs about 7 grams of protein, thanks to the Greek yogurt and eggs. This makes the dish not only comforting but also a solid post‑workout breakfast. The protein content keeps you satiated longer, reducing the mid‑morning craving for sugary snacks.
- Flavor Balance: The natural tang of Greek yogurt balances the sweetness of maple syrup, creating a harmonious profile that feels indulgent yet refined. The vanilla extract adds a subtle warmth that ties the ingredients together. The result is a pancake that feels like a dessert but is actually a wholesome breakfast.
- Ease of Prep: The batter requires no special equipment—just a whisk, a bowl, and a non‑stick skillet. The ingredients are pantry staples, so you can whip up a batch in minutes. The cooking time is short, making it ideal for busy mornings or a quick brunch.
- Versatility: You can customize the batter with fresh berries, chocolate chips, or a sprinkle of cinnamon. The pancakes hold up well under toppings, whether you choose fruit compote, yogurt, or a drizzle of honey. This adaptability means the recipe stays exciting over time.
- Make‑ahead Friendly: The batter can be stored in the refrigerator for up to 24 hours, and the pancakes themselves freeze well. When you’re ready to serve, just reheat them in a skillet or microwave. This feature is perfect for meal prep or for feeding a crowd.
Inside the Ingredient List
The Flour Foundation
All‑purpose flour provides the structure that holds the pancakes together. It’s the backbone of the batter, ensuring each bite has a satisfying bite. If you prefer a lighter texture, swap half the flour for whole‑wheat; it adds fiber without sacrificing fluffiness. The key is to sift the flour to avoid lumps that can make the batter uneven.
The Yogurt Layer
Greek yogurt is the star that delivers both moisture and protein. Its thick consistency keeps the pancakes tender while adding a subtle tang that balances the sweet maple syrup. Opt for plain, low‑fat yogurt if you’re watching calories; the flavor remains robust. A quick tip: let the yogurt sit at room temperature for 15 minutes before mixing to reduce separation.
The Leavening Agents
Baking powder and baking soda work together to create the airy rise that defines these pancakes. Baking soda reacts instantly with the yogurt’s acidity, producing carbon dioxide bubbles that puff the batter. Baking powder provides a slower, sustained lift, ensuring the pancakes stay fluffy even after resting. Together, they create a lift that feels like a cloud.
The Final Touches
Maple syrup or honey adds natural sweetness that complements the tangy yogurt. Vanilla extract deepens the flavor profile, adding a warm undertone that ties everything together. A pinch of salt enhances every ingredient, preventing the batter from tasting flat. Butter or coconut oil is essential for a non‑stick pan and a golden crust.
Everything’s prepped? Good. Let’s get into the real action.
The Method — Step by Step
- Step 1: Whisk the Dry. In a large bowl, sift together the flour, baking powder, baking soda, and salt. This ensures an even distribution of leavening agents and eliminates lumps. Feel the powdery texture as you stir; it should feel smooth like a fine dusting. This step is crucial for that consistent rise.
- Step 2: Blend the Wet. In a separate bowl, beat the eggs, then fold in the Greek yogurt, milk, maple syrup, and vanilla. The mixture should be a silky custard, slightly thicker than traditional pancake batter. The yogurt’s tang should mingle with the sweet syrup, creating a balanced flavor base. Keep this mixture cold; it preserves the batter’s stability.
- Step 3: Combine. Pour the wet mixture into the dry ingredients, stirring gently with a spatula. Use a folding motion to keep the batter airy; overmixing can deflate the lift. You should see a few small bubbles, indicating the leavening is active. Let the batter rest for 5 minutes to allow the flour to hydrate fully.
- Step 4: Preheat the Skillet. Heat a non‑stick skillet over medium heat and add a pat of butter or a drizzle of coconut oil. The butter should melt and bubble, but not brown. This temperature is key—too hot and the pancakes will burn on the outside before the inside cooks. Feel the heat; it should be steady and even.
- Step 5: Test the Heat. Drop a small droplet of batter onto the skillet. If it sizzles and expands within seconds, the pan is ready. If it sits flat, give it another minute. This simple test saves you from uneven pancakes. The batter should spread just enough to form a thin circle.
- Step 6: Cook the First Side. Pour a ladleful of batter onto the skillet, forming a circle about 3 inches in diameter. Let it cook for 2–3 minutes until bubbles form on the surface and the edges lift. The bottom should be a golden brown, but not burnt. Flip carefully with a spatula, ensuring the pancake stays intact.
- Step 7: Flip & Finish. Cook the second side for 1–2 minutes. The pancake should be golden and fluffy. If you notice any raw spots, let it cook an extra minute. Watch the edges; they should be firm but still tender. This is the trickiest step—don’t rush it, or you’ll miss the perfect rise.
- Step 8: Repeat. Continue cooking batches, adding more butter or oil as needed. Keep the skillet at a steady medium heat; this ensures even cooking. If the pancakes start to dry, lower the heat slightly. Each pancake should look like a golden disk with a soft interior.
- Step 9: Stack & Serve. As soon as the pancakes are done, stack them on a warm plate. The heat will keep them fluffy. Add your favorite toppings—fresh berries, a dollop of yogurt, or a drizzle of honey. The combination of textures will elevate the dish.
- Step 10: Enjoy. Take a bite and let the flavors unfold. The sweet maple, tangy yogurt, and buttery crust should harmonize perfectly. Savor the fluffiness, and if you’re feeling adventurous, taste a second stack. Your taste buds will thank you.
Insider Tricks for Flawless Results
The Temperature Rule Nobody Follows
Many bakers swear by a low, slow cook, but a medium heat actually works best for these pancakes. Medium heat ensures the batter cooks evenly, giving you a golden crust without burning the inside. Keep the skillet covered for the first minute to trap steam, then uncover to allow the surface to crisp.
Why Your Nose Knows Best
Trust the aroma—it’s your most reliable indicator of doneness. A subtle, buttery scent with a hint of caramel signals that the pancake is ready to flip. If you smell a sharp, metallic odor, lower the heat immediately.
The 5‑Minute Rest That Changes Everything
Letting the batter rest for five minutes after mixing allows the flour to fully absorb the liquids and the leavening agents to activate. This short pause results in a batter that’s smoother and yields a fluffier pancake. Don’t skip this step; it’s the difference between average and outstanding.
The Right Pan Choice
A heavy‑bottomed skillet distributes heat evenly, preventing hot spots that cause uneven cooking. If you have a cast‑iron pan, preheat it for a few minutes before adding butter. The pan’s weight also helps maintain a steady temperature throughout the cooking process.
How to Keep Them From Sticking
Use a non‑stick skillet or a well‑seasoned cast iron. Add a thin layer of oil or butter and let it melt before pouring the batter. If you notice sticking, lower the heat; a sudden surge can cause the batter to cling to the pan.
The Perfect Finish
Once flipped, let the second side cook until the underside is golden. A quick squeeze with a spatula should reveal a clean, golden edge. The final touch is a light dusting of powdered sugar or a drizzle of maple syrup right before serving.
Creative Twists and Variations
Berry Burst
Fold fresh blueberries or sliced strawberries into the batter before cooking. The berries burst with juice, adding a vibrant tartness that cuts through the sweetness. Serve with a dollop of whipped cream for an extra indulgent touch. This variation is perfect for a summer brunch.
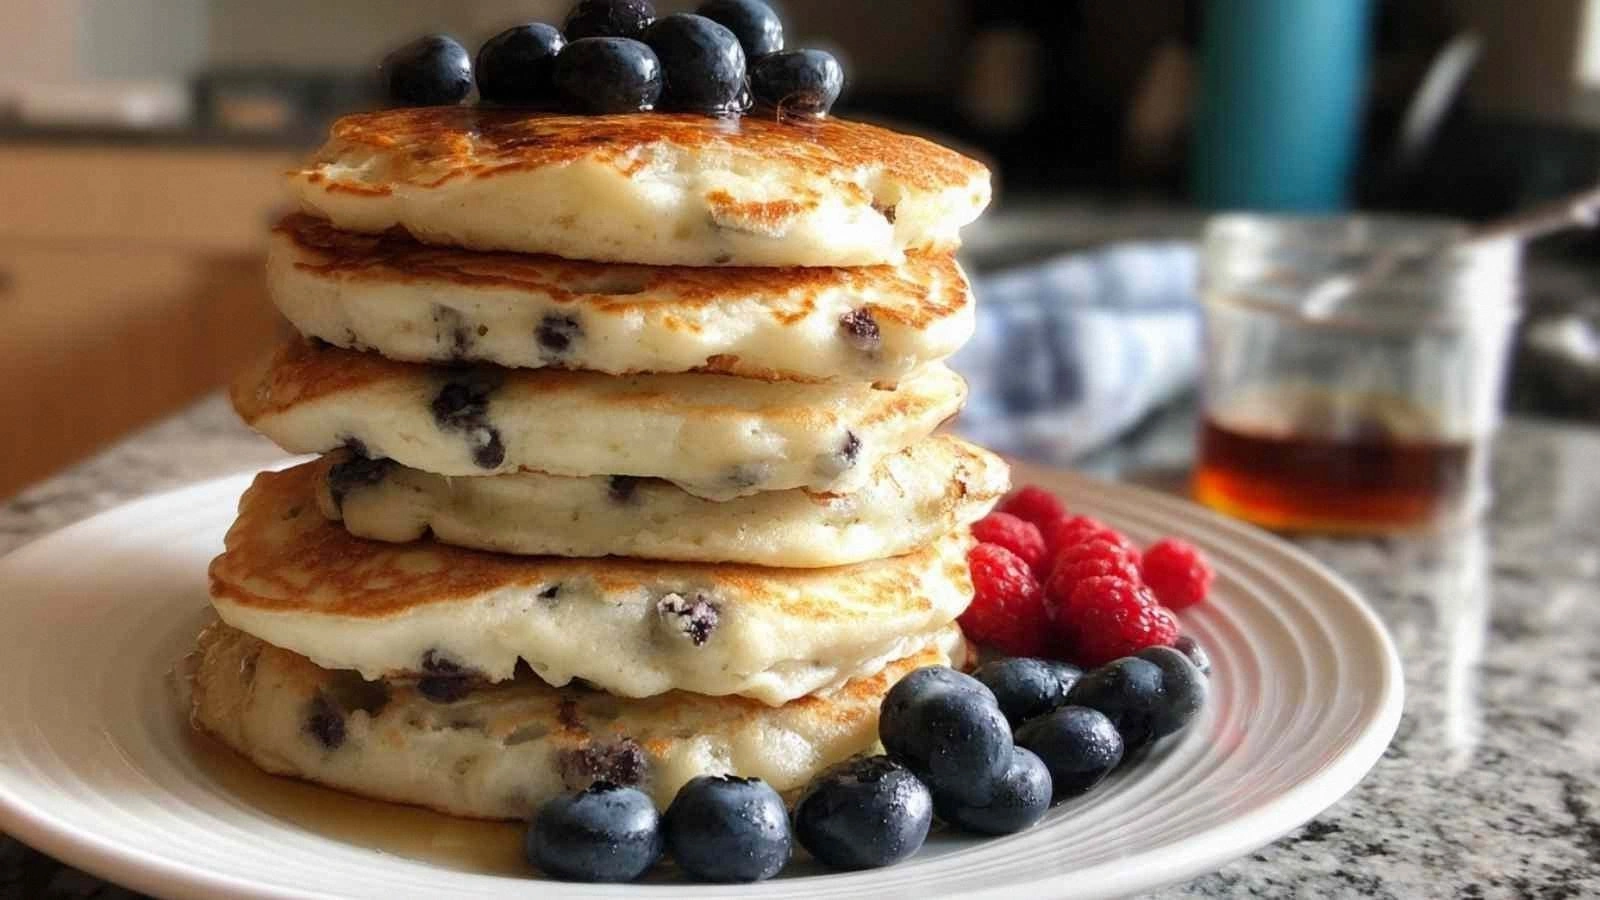
Chocolate Chip Delight
Swirl dark chocolate chips into the batter for a decadent treat. The chips melt slightly, creating pockets of rich chocolate that complement the fluffy texture. Pair with a drizzle of honey or a sprinkle of sea salt. This version feels like a dessert, yet it’s still protein‑rich.
Savory Herb Surprise
Add chopped fresh herbs—such as chives, dill, or parsley—to the batter for a savory twist. The herbs infuse the pancakes with a fresh, aromatic flavor that pairs well with smoked salmon or avocado. Top with a light yogurt sauce for a balanced bite. This is a great option for lunch or a light dinner.
Coconut Lime Twist
Replace half the milk with coconut milk and add a splash of lime zest to the batter. The coconut imparts a tropical undertone while the lime brightens the flavor profile. Finish with a drizzle of coconut syrup and a sprinkle of toasted coconut flakes. This variation feels like a vacation in a bowl.
Peanut Butter Banana Boost
Fold mashed banana and a spoonful of peanut butter into the batter for a nutty, sweet boost. The banana adds natural sweetness while the peanut butter provides healthy fats and a creamy texture. Serve with a side of fresh banana slices and a drizzle of honey. This version is a protein‑packed breakfast for the active.
Storing and Bringing It Back to Life
Fridge Storage
Store leftover pancakes in an airtight container in the refrigerator for up to 3 days. Keep the pancakes in a single layer, and place a sheet of parchment between each stack to prevent sticking. When you’re ready to eat, reheat them in a skillet or microwave for 30 seconds.
Freezer Friendly
Lay pancakes on a parchment‑lined tray and freeze individually. Once frozen, transfer them to a freezer bag or container. They stay fresh for up to 2 months. To serve, pop one or two onto a skillet and warm until hot.
Best Reheating Method
The skillet is the best way to bring pancakes back to life. Warm a non‑stick pan over medium heat, add a splash of butter, and place the pancakes inside. Flip after 30 seconds and cook until the other side is golden. For a quick option, microwave on a paper towel for 20–30 seconds; add a splash of water to keep them moist.